Friday, February 21, 2014

Februray 3rd Weed Part B

February 20 - Rockets & Hot Air Balloons


My sweet little students shared their colds with me and I was feeling under the weather so today's activities were minimal. To make me feel better they decided to use our "Valentimes" hearts and decorate the sliding door and then rearranged the hearts to make it perfect.


  While I worked on getting the last minute things ready for the day, the students decorated the door, and worked on a new puzzle to learn how to tie shoes. They put a lot of effort into lacing the puzzles and then tying the shoes. Mostly all I got was some pretty crazy/creative knots in the shoelaces, but we take it one step at a time.


Then  to take a brain break (their idea) they got out the bean bag chairs and read a couple of books. [FYI - a brain break is when we take a couple of minutes for our brain to process the things that we have learned. Taking the information from working memory and storing it in long term memory.] I thought it was cute at first and then I realized that they truly grasp the purpose for a brain break. They had worked hard and their brains needed time to process what they had done.


 Once the large graph was ready we started our morning circle time. We made our first bubble chart, which the students decided to call it a 'spider' chart because I forgot to put bubbles around all the information. We started the chart with information that we knew about Hot Air Balloons (information in purple and on the straight lines).


We learned more by reading "Curious George and the Hot Air Balloon" by Margret & H. A. Rey. The information we learned about hot air balloons we added to our chart (information in blue and on the squiggly lines).


For homework last week the students filled out "My Traffic Report" where they made a mark in the column of different colored cars that they saw as they traveled home.
 

Each student took their graph and used the data to complete our class' "Traffic Report" chart. Since one student used a tally mark on her chart she used a tally mark on our class' chart. The other student had made an 'x' on her graph so she did the same on our chart.


On the individual charts they had indicated which color of car they saw the most. So on our class chart


we put a happy face on the column with the most and


a sad face on the column with the least. They chose the sad face because they had not seen a single pink car. So sad! One student noticed that her chart showed that blue and white were tied, but our class chart showed that only white was the winner. We discussed how it was possible for the individual data of which had the most could be different from our class' chart. We also made note that on all the charts that Pink was the same with 0 cars. It was decided that they would drive pink cars so preschool kids would be able to see pink cars.
  

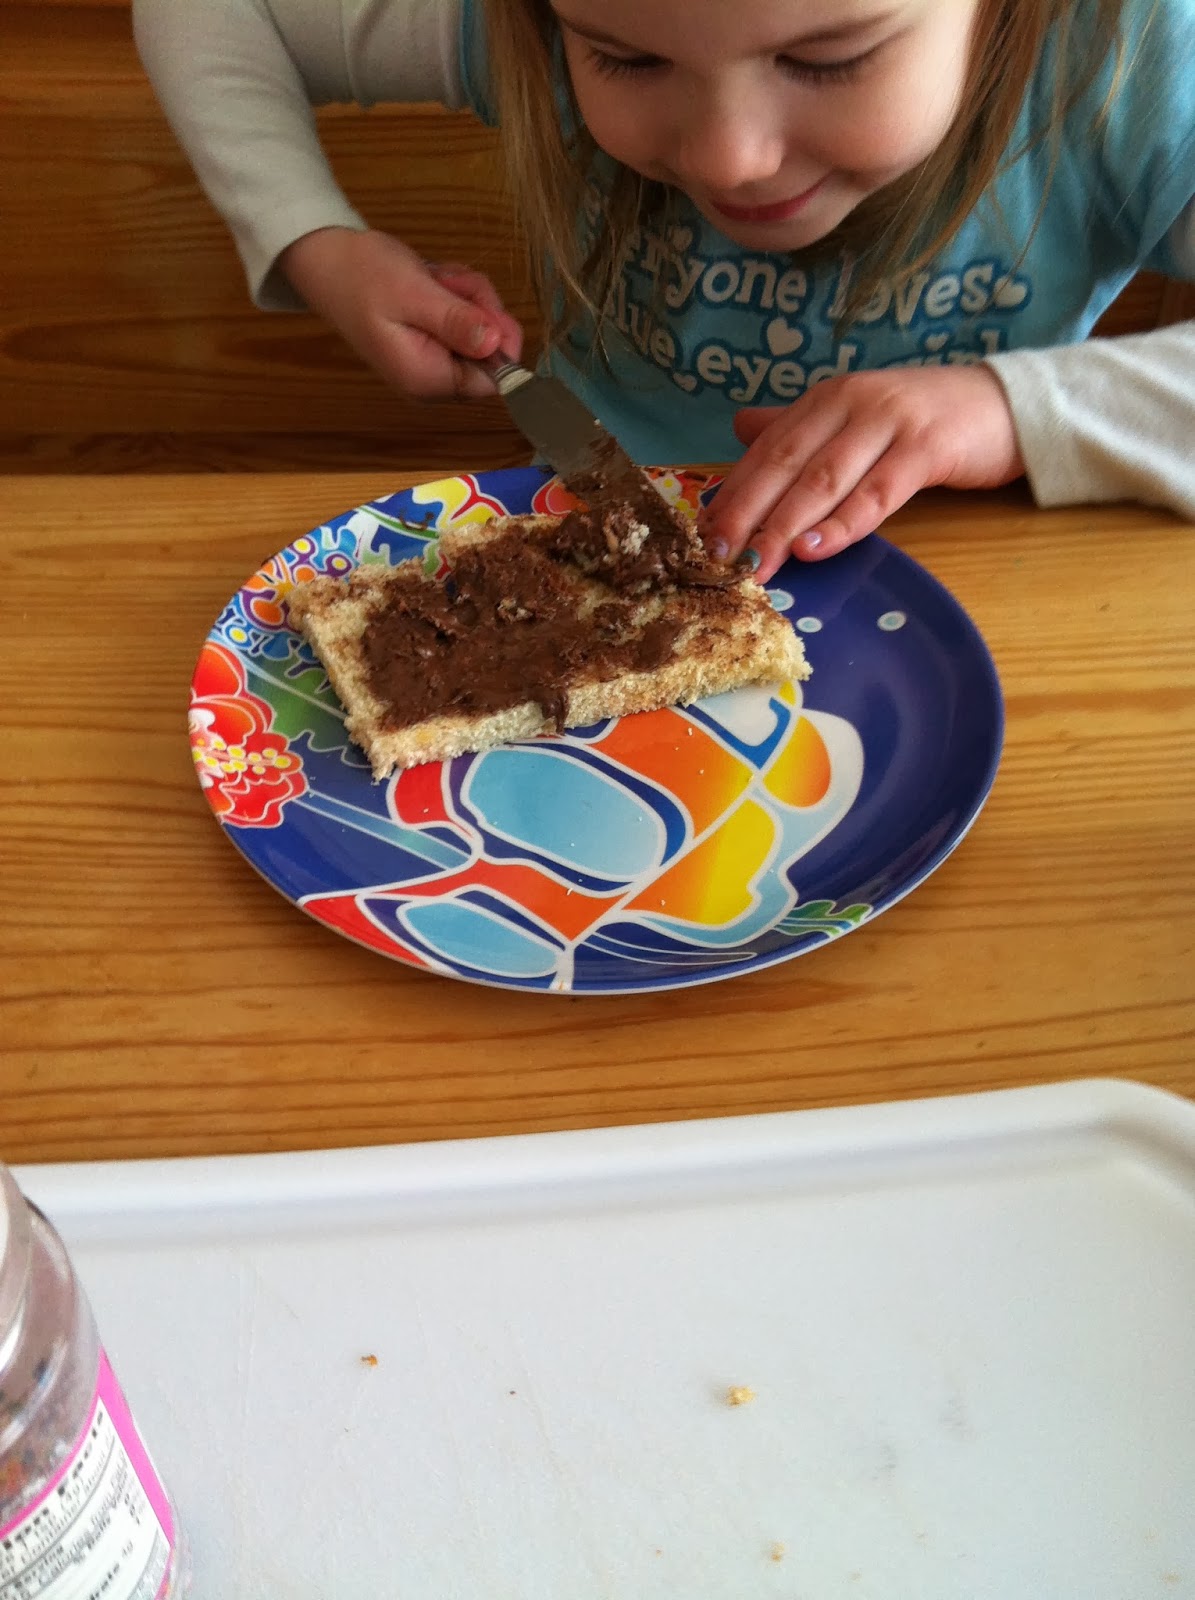
 For snack we made hot air balloons. We started with a slice of bread (crusts removed) and spread some Nutella on it (usually an easy task for adults but is challenging for four-year-olds)


then we added candy sprinkles just to add some color (and crunch when we ate it). We rolled up the bread and cut it into three rolls. (The idea came from http://smartpartyplanning.com/fabulous-fairy-bread/.)


We used one roll for the balloon, celery sticks for the ropes, a graham cracker for the basket, and a baby carrot halved for the people. Above are the two variations of the hot air balloon snack. We used our extra celery sticks to dip into our extra Nutella and decided that we like Nutella and celery too. Another day we will have to do an experiment - a side by side test to see if we like Nutella or peanut butter best in our celery sticks. This was all we got done today. The students were picked up half an hour early.

For homework was three worksheets a hot air balloon dot to dot picture, from http://www.dottodots.net/preview/Hot_Air_Balloon_And_Clouds_Dot-To-Dot; a vehicle match from http://www.first-school.ws/t/ap/helicopter_ap1.html; and a beginning sound worksheet from DLTK-Teach.com.

February 3rd Week part A

February 18 - Planes and Helicopters


Interest was piqued as the students arrived and the spider web on the floor had been replaced with, what the students thought was a road. In reality we learned that it is a runway, just like at the airport.


For our morning meeting, we got down the balance scale and had a short demonstration on how to use the balance scale. I introduced vocabulary words: heavy, heavier, light, lighter, and balance. We used M&M's to help us learn how to balance the scale. One student grabbed a handful of M&M's and placed them in one balance cup and another student placed her handful in the other balance cup, to see if they were the same and balanced. We looked at and talked about which side was heavier, which side was lighter, and problem solved to see which cup needed more/less to make the scales balance. Once we got the scales to balance we counted the M&M's in each cup to discover how many M&M's were in each cup. To our delight, we discovered that when the scales balanced there were the exact same amount of M&M's in each cup.

For math we split up and one student worked with the scales while the other student worked on one-to-one correspondence and number recognition. They counted the number of hearts on the cards and used a clothespin to pin the correct number. Using clothespins was a new experience and the muscles in their fingers got a bit tired. Half way through the students got to trade places and do the other activity. I was also able to do some individual assessments as I observed their activities.


After all that hard work we pretended to be airplanes and tried to land on the runway. It was fun to watch the different interpretation of a plane landing. One student flew around the room and when she got to the runway she ran. The other student, who had been on an airplane, flew around the room and dropped to her knees to land her plane.


Our airplane theme continued through snack time. We made airplanes to eat using some of our favorite snack foods. The body of the plane was a celery stick with peanut butter, the wing was made of a banana halved lengthwise. The picture I saw was a graham cracker rectangle, but I was out of graham crackers so I used a banana. Our banana broke in half, but still tasted wonderful. We used grapes for the wheels and made yogurt clouds to complete the picture.


After snack, we didn't go outside because the students both have colds and weren't interested in going outside. Instead we played a fun game of M&M Numbers. We used our real M&M's to  play the game, knowing next time that we will have to use the cardboard M&M's that come with the game.


We really needed some gross motor action. We did some cross over toe touches to understand the concept of opposite foot and hand. The purpose for this activity is so they would understand when started flying our airplanes that we needed to step out with the opposite foot to throw the airplane. The toe touches worked very well and the students understood the cross touching.


We folded a basic airplane from a piece of scrap booking paper (just because it was pretty) and then we made a simple helicopter from http://www.makermama.com/2011/02/paper-helicopter.html. Then it was time to fly our beauties. We learned that it was easier to get the correct foot out first then put the airplane in the opposite hand to fly it. I had envisioned it being a smooth, fluid movement; but ... it was more like step 1) pose with foot out, step 2) put airplane in opposite hand, step 3) throw airplane. Practice makes perfect, and one day it will be a smooth, fluid movement!


We tried to fly our planes and get them to land on the runway, but those planes seemed to have a mind of their own and only once did a plane actually land on the runway properly, of course I was so excited that I forgot to get a picture. We did have a few that "landed" on the outside lines of the runway.


Next we learned how to fly our helicopter. We learned that our helicopters needed to be thrown up toward the sky in an arch for them to fly and twirl down to the ground.


One of the helicopters even landed on the runway. Time for cheers and celebrating.There were lots of "Woo-hoo" and "YEA!"s.


Flying airplanes and helicopters was more difficult that the students had thought. So as a reward we had some free play time and I was treated to a rock concert.

Homework consisted of three worksheets and a family project. The first worksheet was from a Hello Reader book I have called  "Let's Visit the Airport" by Scholastic. The assignment was for the student to find 6 silly things on the Mix up Airport picture. The second was to match the helicopters by tracing the lines. Worksheet from http://www.first-school.ws/t/ap/helicopter_ap1.html. The third was a dot-to-dot picture of a helicopter from http://www.first-school.ws/t/ap/helicopter_dot_to_dot10.htm. The family project was for the family to to to http://www.10paperairplanes.com/ and make some paper airplanes. Trying different styles of airplane to see which ones fly the best.

Friday, February 14, 2014

February Week 2 Part B

February 13 - Valentines Day
 
Today was a different day, because I had only one student. As soon as she arrived she was talking about "Valentimes Day." Her enthusiasm level was very high. During our morning meeting we talked about the history of Valentines Day. She was really sad that the priest was killed because he wanted to marry people. We talked about some of the more fun traditions and she was became excited about cupid, because she has a certain someone that she wants to marry when they "get bigger." She giggled as we talked about the possibility of cupid having shot her and her boyfriend in the heart so they can be in love.


Her first word with the letter tiles (found at http://www.2teachingmommies.com/2012/01/valentine-expanded.html) was of course "Cupid." She did do all the other words but liked cupid the best.


For math we did a sweet estimation activity (again found at 2 teaching mommies, link above). She looked at the picture of a jar that we were going to cover with Sweet Heart candy and estimated how many it would take to cover the jar. We are focusing on a two dimensional model to better understand the concept, before we move onto a real three dimensional model.


   She wrote her estimation in her Math Journal, put a sticker on her estimated number on the 100 chart, and then had fun covering the jar with candy hearts. After covering the jar, we again used the 100 chart to help us count the hearts.

She took each heart off the jar and placed it on the 100 chart (found at 2 Teaching Mommies link above). She was a little sad when she had reached her estimation and still had more hearts to count. Once all the hearts were on the 100 chart, we counted the hearts (I helped her when she got stuck on the new group of tens).
 

Then she used the 100 chart to help her write the actual number in her journal.


Since the journal will be hers when preschool is over, she used some heart stickers to put on her journal jar as a reminder of the activity.


 We did a new kind of math and critical thinking, she used a Sweetheart maze (found at 2 Teaching Mommies link above) to help the candy get back into its box.


This was the first time we have done a maze and she was a bit sad when she took a wrong turn and had to backtrack but we talked about how we all make mistakes and need to do things over or backtrack. It is all a part of life and how we get smarter.


On to more math, this time working in our Math Journals we did a Predict and Analyze activity (found at 2 Teaching Mommies, link above). First she had to predict which candy heart we would roll the most and which color we would roll the least. I cut the page in half (mostly to make it fit better into the journal) and put the actual graph on one page and the Predict and Analyze part on another page. I like it because she were not able to see her predictions as she was filling out the graph and she was not trying to make her predictions come true.
 

After 10 rolls of the die, we collected our data and recorded it in the Analyze section. She was delighted that she got co circle 'yes' to the question if she had any two that had been rolled the same number of times.It is as if marking yes and/or a happy face means that it was done correctly, and marking no or a sad face means it was done incorrectly. Will have to address that in a future lesson.


Finally it was time for snack. As the student set the table I quickly made a peanut butter and honey sandwich. She used the sandwich and a heart shaped cookie cutter to cut out 4 hearts, for the butterfly's wings. We used a carrot stick for the body, carrot shreds for the antennas, and M&Ms for the eyes. She had chosen the M&M plates for snack and coincidentally placed her butterfly perfectly so that they eyes on the plate could also serve as the eyes on her butterfly (her M&M eyes are blue too and barely visible). We washed down our butterfly with orange juice.


As a service to our families we rolled up our sleeves to make sugar cookies as a Valentines Day surprise. (I'm the lazy one that used red sugar to decorate the cookies.)


My student was so excited to roll out the dough, cut out a shape, brush it with milk, and then add sprinkles to decorate the cookies. We used one of the small heart shaped cookie cutter as a template/stencil for the sprinkles.


After we cleaned up the cookie mess (which was significant) we straightway went to work on our gifts. We made Valentines Bling Rings (found at http://www.momontimeout.com/2012/01/bring-on-bling-valentine-ring-craft/) for the females in our families and


Super Hero Valentines Pops (idea came from http://zakkalife.blogspot.com/2011/02/its-bird-its-plane-its-super-valentine.html ours were not from the template but hand written and drawn) for the male family members.


We finished all our work before mom arrived, so she worked on filling in the blank number on the "Waddle All the Way" penguin cards from http://www.teacherspayteachers.com/Product/Waddle-All-The-Way-ordering-numbers-1-10-FREE-974686.

Homework was very simple this weekend. The students were to complete the instructions for a special Valentines 100 chart and Sweetheart graphing (both from 2Teaching Mommies, link above). They also took home another Book Buddy Bag with books and activities to do with their families.

February Week 2 Part A

February 11 - Transportation Overview

templates

To pique the students interest in today's topic we learned a really catchy song "Daddy's Rusty Car" found at http://www.dltk-kids.com/crafts/transportation/m-songs-rusty-car.htm. After a short discussion about how we can get from one place to another we talked about how the students got to school. Did they walk, ride a bus, or ride in a car (correction a van)? Today's weather was beautiful, so we took advantage of the warm sunshine to take a close look at a car.


My car was the only model we had available to us. We drew a rough sketch of my car, counting the number of doors, wheels, mirrors, windows, lights, and key holes/door locks. They really took notice of the door locks, since most cars today have a remote clicker to unlock the doors, they were curious about the purpose of the door locks.


With our sketches done in great detail (we added labels of the major parts after the pictures were taken), we went back inside to explore more cars (matchbox cars). My sons have quite a collection of matchbox vehicles, felt roads, felt city blocks, and traffic signs.


We sorted the vehicles into three categories: air, land, and water.

With the variety of land vehicles we made note of the similarities and differences of the vehicles.


The students took all the felt pieces and laid out a felt city and connected the different city blocks with the road strips and placed all the vehicles in the appropriate places. The military vehicles went onto the Air Force base block, the boats were put onto the lake, the rest of the vehicles were parked on the car lot, the shopping center, the church parking lot, and some were at homes.


They made sure that every city block had cars placed on them and that the traffic signals were carefully placed in a way that made sense to them. There was quite a bit of discussion about where everything should be placed, how the roads should connect the city blocks, and the blocks that needed to be away from the homes and stores (the military base and the lake).


Then they used the sportiest cars and took them to the race track and imitated the movie "Cars".

 
For snack we made our own convertible car and traffic light. Our cars were apple wedges with banana slices for wheels attached with peanut butter;


and celery sticks some with peanut butter and some with cream cheese. We used red, yellow, and green M&M's for the lights.


We did a taste test to see if we liked the cream cheese or the peanut butter filling best for our traffic lights. We each hypothesized which one would be the favorite. The students hypothesized that the peanut butter one would be the favorite. Since I love cream cheese and celery, I hypothesized it might be the cream cheese. It was unanimous we liked the peanut butter and chocolate M&M traffic light combination the best. The students' hypothesis was proven to be correct and mine was proven to be incorrect.
 

To round out our snack we had milk and ABC cookies.


After snack, we got to work building our own class car. We discussed the things that we would need and looked over the supplies I had gathered to see how we could use them to build a car. We chose the long box for the body of the car and the smaller box to make the wheels. One student used a container lid to trace around for the wheels and one of our stools to trace for the steering wheel. A toilet paper roll was chosen for the steering column, but later was replaced with a paper towel roll, because it was longer.

Each wheel was colored, the first wheels were colored to resemble the real thing, but then the students got creative and made the second two wheels very colorful. While one student was tracing the wheels the other student was busy cutting out white ovals for the front lights, red squares for the back lights, and orange rectangles for the turn signals. I was impressed with the detail, the turn signals.

We soldered our car together with tape and glue. With the car all put together the students took turns driving it around as we sang the song "Daddy's Rusty Car."I provided the propulsion since it was on the carpet and the students couldn't push the car with some one in it. After school I realized we should have pushed it on the kitchen tile. A science discussion about friction to be used another day.


When I got tired I took advantage of their inner diva and we turned it into a quick photo shoot. They both love to model and pose!


After the photo shoot, we labeled all the parts of the car so that we could remember them the next time we play with the car. (The top picture is the steering wheel, bottom is windshield) I wrote the words the students remembered on the white board and they wrote the words on the corresponding part of the car.

Homework was a "Land, Air, and Water" chart that they were to complete, the second page had clip art pictures they were to cut out and categorize them. A worksheet of sight words by Sharon Dudley at http://www.teacherspayteachers.com/Product/Sight-Word-Coloring-Worksheet-it-in-if-236251. And a chart to record the color of cars seen on the trip home, found at http://youngkindergarten.blogspot.com/2012/10/traffic-report.html.